Deploying a Gatsby site to your server using GitHub Actions
Since Bibucket Pipeline was released a few years ago, it has completely changed the way I deploy my side projects. I don't want to spend time uploading files manually to my servers and maintaining the backups in case something goes wrong during the deployment process. In the past, I used to clone the repository in the server and manually restart the app. This process could result in different errors or it was just repetitive and slow. Now you can create an automatic process, which does it for you.
GitHub Actions was released in 2019 and I decided to move all my repositories and deployment scripts to GitHub in order to simplify the stack.
GitHub Actions also allow you to automate tedious repetitive workflows like installing dependencies, running tests or scanning for vulnerabilities.
For my personal website and for any of the static website that I need to build, I decided to go for the Gatsby framework. I've been using Jekyll for a long time, but it was a pain to set up the Ruby environment every time I get a new laptop or any plugin or dependency needs an upgrade of the Ruby version.
You can find many tutorials on how to create a website using the Gatsby Framework, for this article I will focus on how to create the needed scripts in order to deploy into your own server. You have many alternatives, but if you don't want to rely on any other Cloud Solution like Gatsby Cloud or Netlify, you can still easily use your own server.
Creating a workflow
Let's get started. Simply create a yaml file /.github/workflows/deploy.yml and decide when do you want to run it. In my case, everytime I push anything to master.
name: Deploy

on:
  push:
    branches: [ master ]
Ok, we have already set up the GH Action to run every time you push to master. Now we have to add the task we need to run, in the case of this tutorial, a simple script to build the site and to copy the static files into the server.
jobs:
  build-and-deploy:

    runs-on: ubuntu-latest
    steps:
    - uses: actions/checkout@v2
    - name: build and deploy site
      run: |
        npm install
        npm run build
        mkdir ~/.ssh
        echo "$private-key" > ~/.ssh/gh_actions_key
        chmod 600 ~/.ssh/gh_actions_key
        rsync -avz --delete -e "ssh -i ~/.ssh/gh_actions_key -o StrictHostKeyChecking=no" public/ ${{ secrets.USERNAME }}@${{ secrets.HOST }}:${{ secrets.SERVER_ROUTE }}
      env:
        private-key: ${{ secrets.PRIVATE_KEY }}
You can find the full file here.
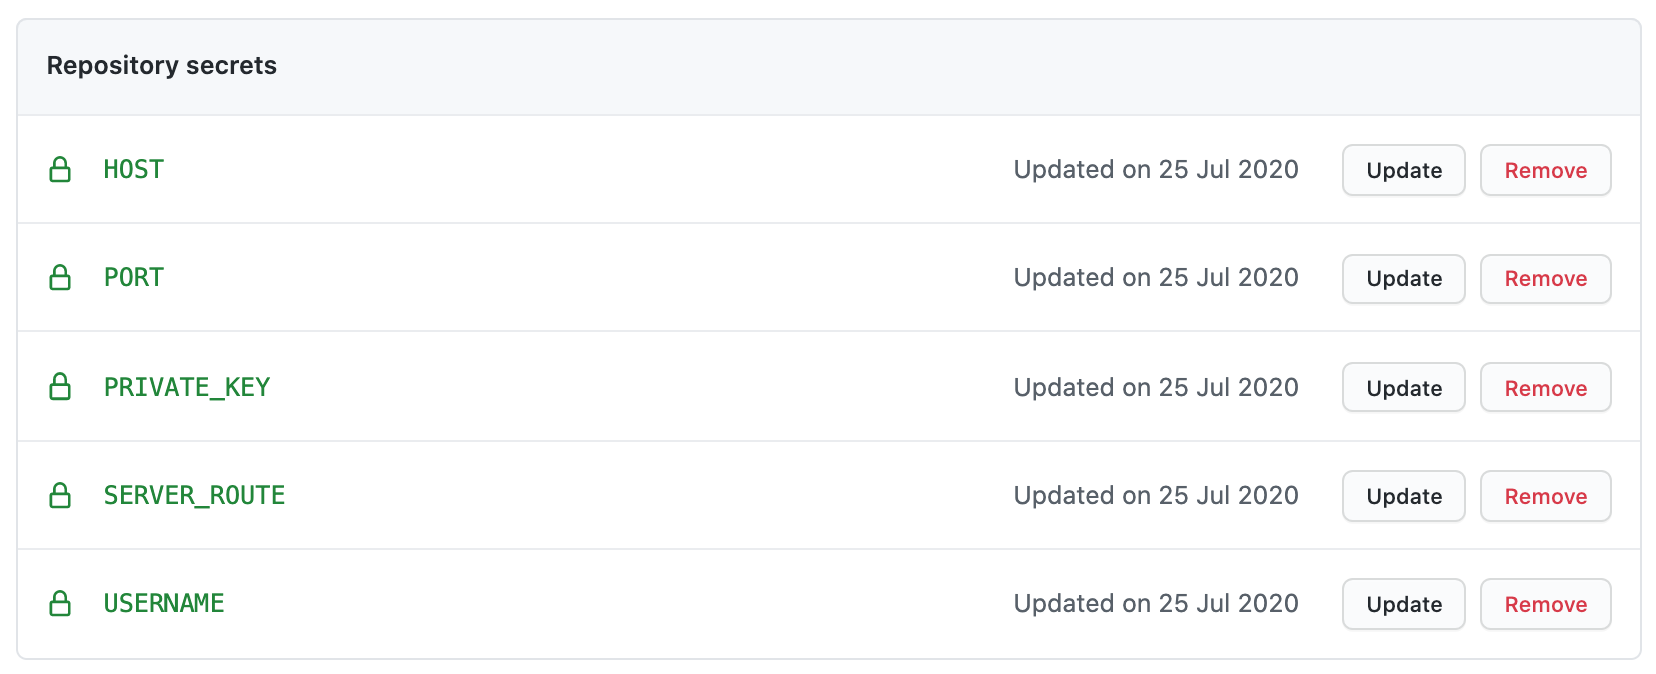
The last step is to add the environment variables to the repository. It is a really bad practice to add passwords or sensitive information to the repository (specially if the repository is public). Go to the GitHub settings and add the next secrets:

- HOST: IP or domain of your server, e.g: 1.1.1.1
- PORT: The port to connect using the SSH protocol, e.g: 22
- PRIVATE_KEY: This is the private key from your server, you can normally find in the
./sshfolder - SERVER_ROUTE: The route where your site needs to be copied, e.g: /var/www/my-site
- USERNAME: The username to connect the server, e.g: root
Deploying the website
Simply, push changes to master in your repository and the changes will be automatically deployed into the server.
